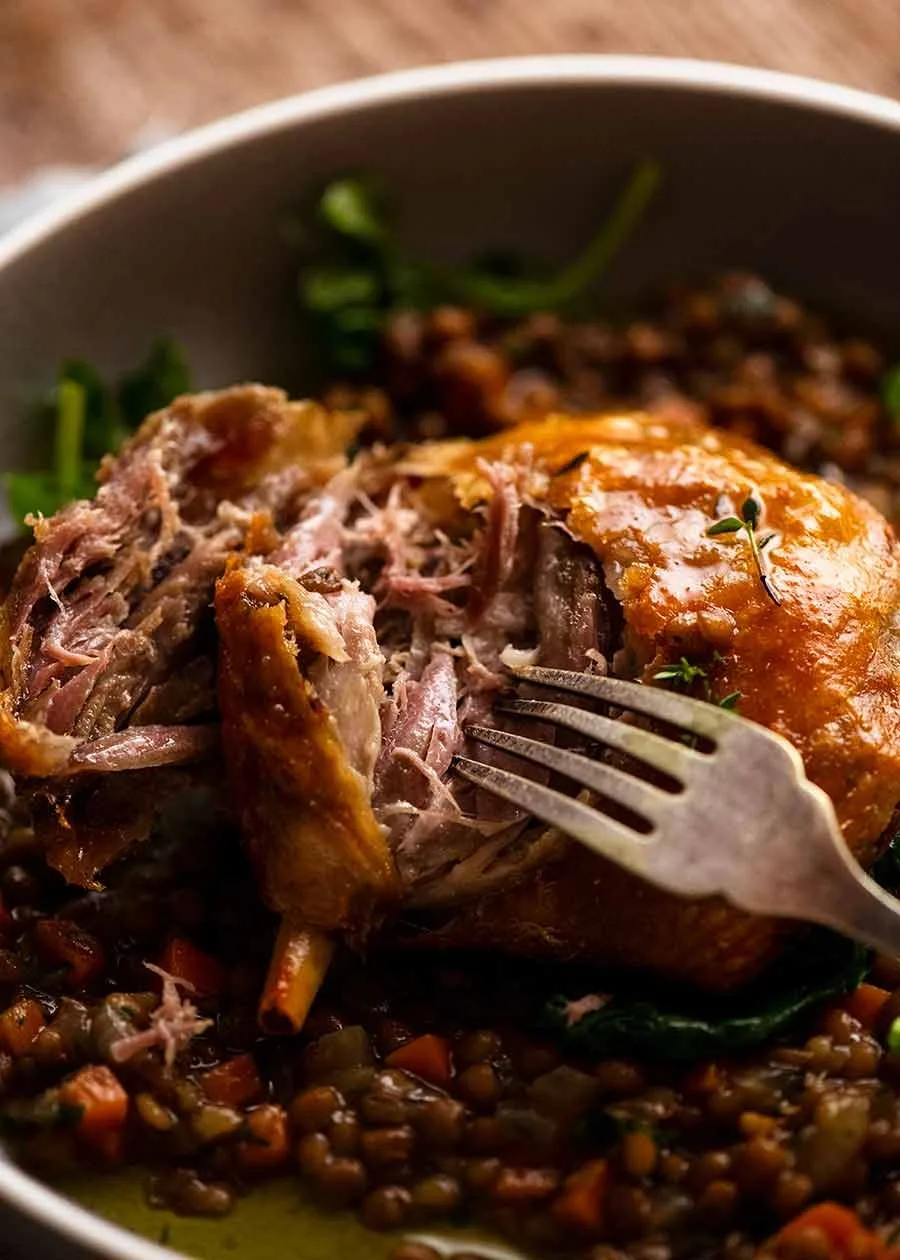
Ingredients
Duck
Dry cure
Crisping
Method
- Toss duck with all dry-cure ingredients. Arrange snugly, cover and refrigerate 12–24 hours. Brush off the cure, rinse and pat dry.
- Heat oven to 100°C / 210°F (80°C fan). Fit duck snugly in one layer in the metal pan; cover with duck fat. Heat on the hob until bubbling throughout.
- Turn off heat. Lay baking paper over the fat; remove air pockets. Seal with double foil and cook eight hours. Check the flesh flakes easily and the joint yields.
- Heat oven to 240°C / 465°F (220°C fan). Drain duck and pat off excess fat. Set skin-up on a rack over 2.5 cm boiling water.
- Roast 40 minutes, rotating for even colour, until deeply golden and crisp. Cool briefly and serve.
Equipment
Covered glass or ceramic curing dish; High-sided metal roasting pan, source size 27 × 21 cm; Baking paper; Foil; Roasting rack and deep roasting pan; Paper towels
Notes
- Choose the legs: use bone-in legs with thighs attached and skin on. Thaw frozen legs completely and pat dry. The dark leg meat suits slow cooking; keep the lean breasts for a quicker preparation.
- Cure and salt: lightly pack the fresh herb sprigs into their measures. If one herb is missing, about one teaspoon of its dried equivalent can replace it; keep the others fresh where possible. The salt quantity is for cooking or kosher salt. Use one-quarter less table salt.
- Pan and fat: the source uses a high-sided metal pan, 27 × 21 cm, with the legs snugly touching in one layer. Keep the flesh submerged. A suitably sized Dutch oven also works, and goose fat can replace some or all of the duck fat.
- Making ahead: put the warm cooked legs into a snug container and cover completely with strained fat, leaving the meat juices behind. Cool, cover and refrigerate for up to five days or freeze for three months. Thaw overnight in the fridge, then gently melt the fat before lifting out the legs for crisping.
- Crisping and serving: the oven finish colours the skin more evenly. Nagi also gives a pan option of about 3–5 minutes over medium heat. Serve promptly after either finish, with lentils and a lightly dressed green salad, while the skin is crisp.
- Keep the fat: strain it and separate it from the meat juices. Taste before using it for another confit, since repeated batches add salt. Fat too salty for another batch can still flavour roast potatoes.
- Allow enough time: curing takes 12–24 hours. The headline cooking time is 8 hours 50 minutes; the specified confit and crisping stages total 8 hours 40 minutes, with hob heating additional.
How to
Photos
19 photos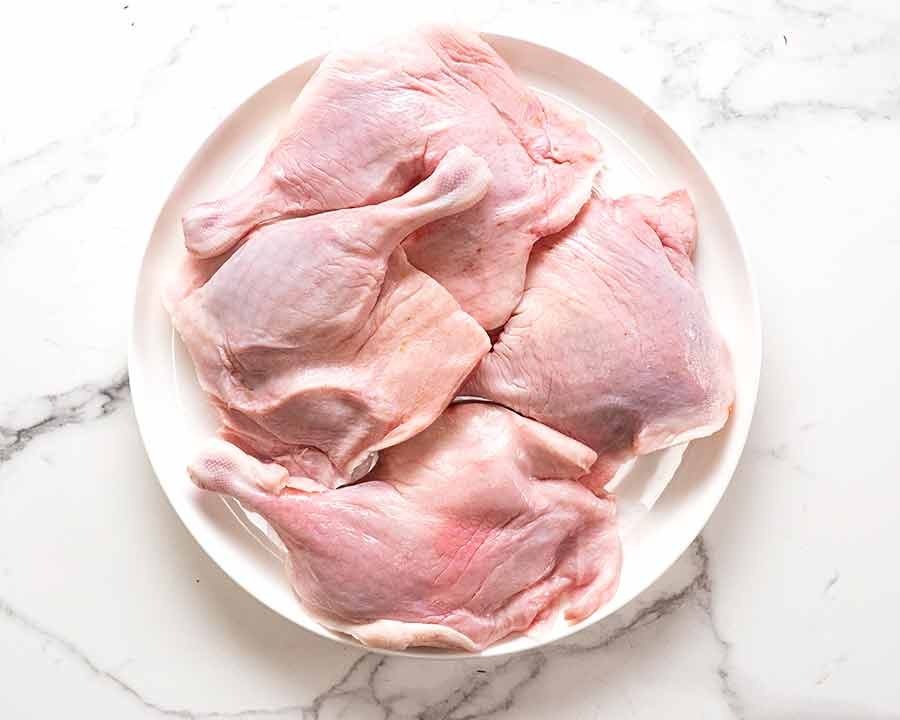 IngredientsRaw duck legs
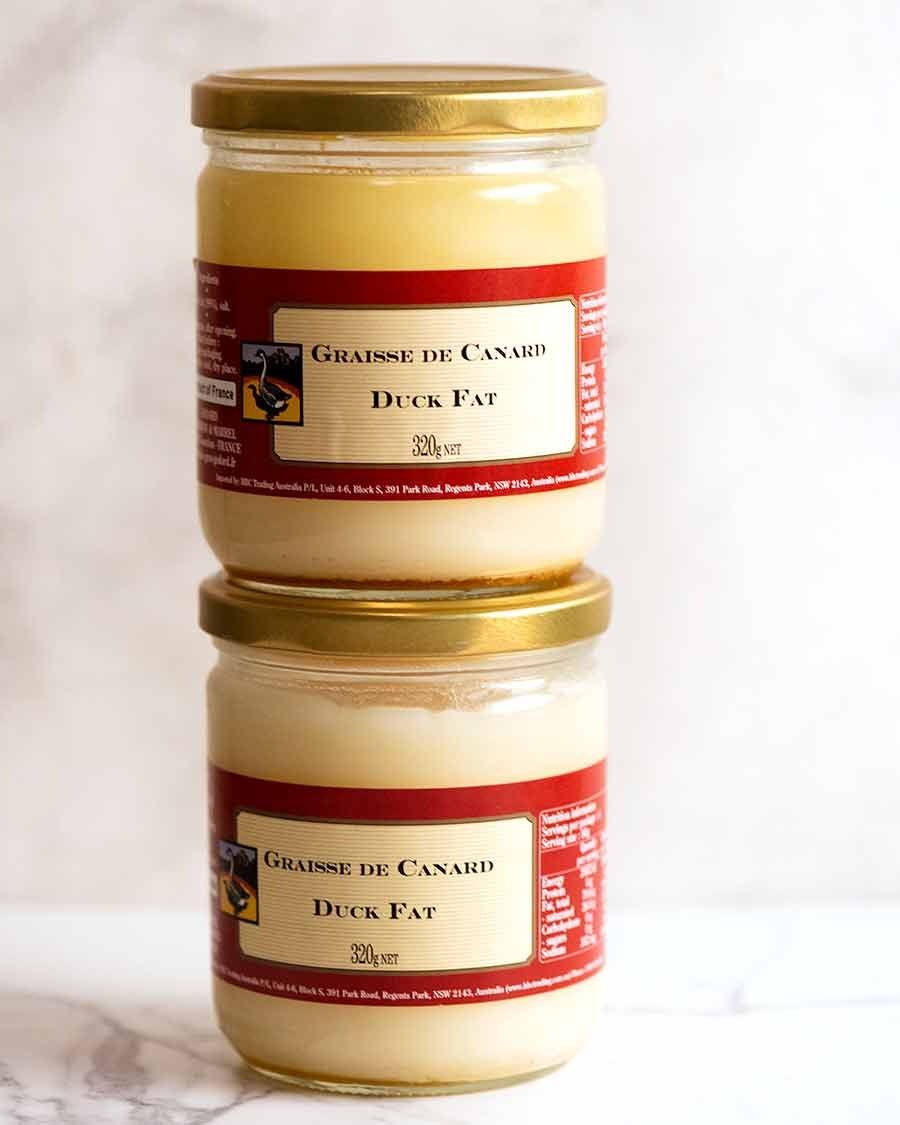 IngredientsDuck fat
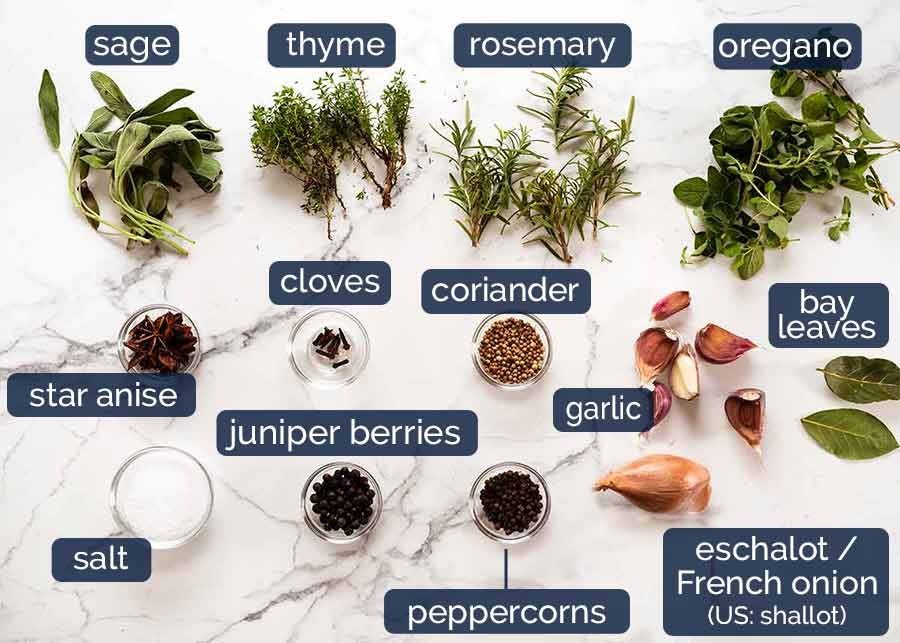 IngredientsCure ingredients
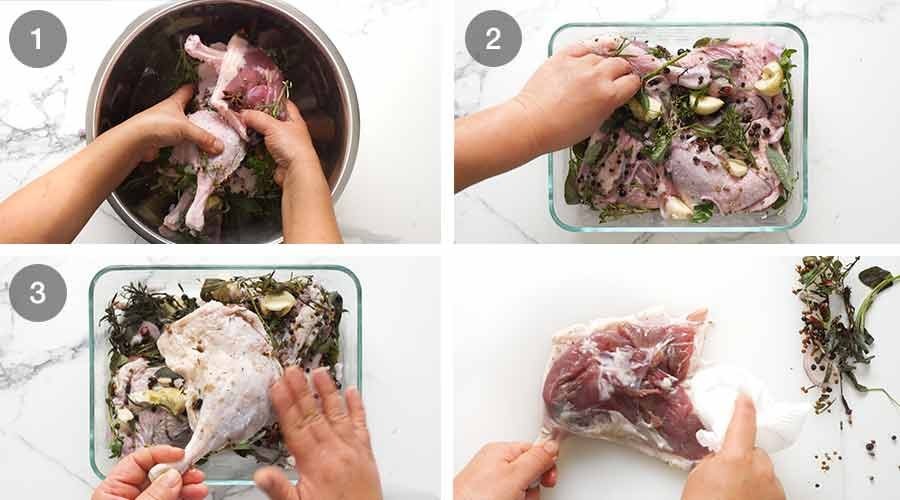 Step 1 · OverviewCoating, curing and rinsing the legs
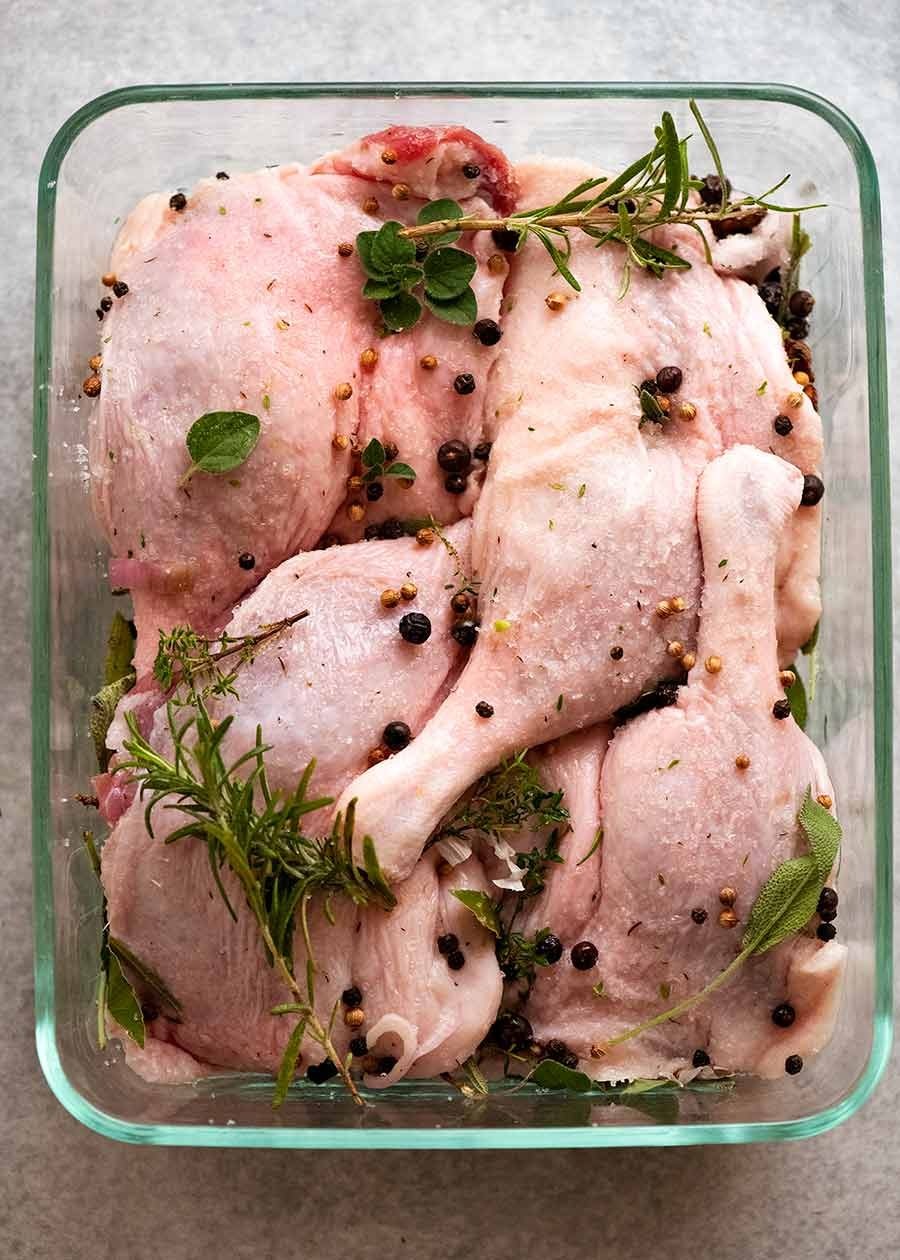 Step 1Duck in its herb and spice cure
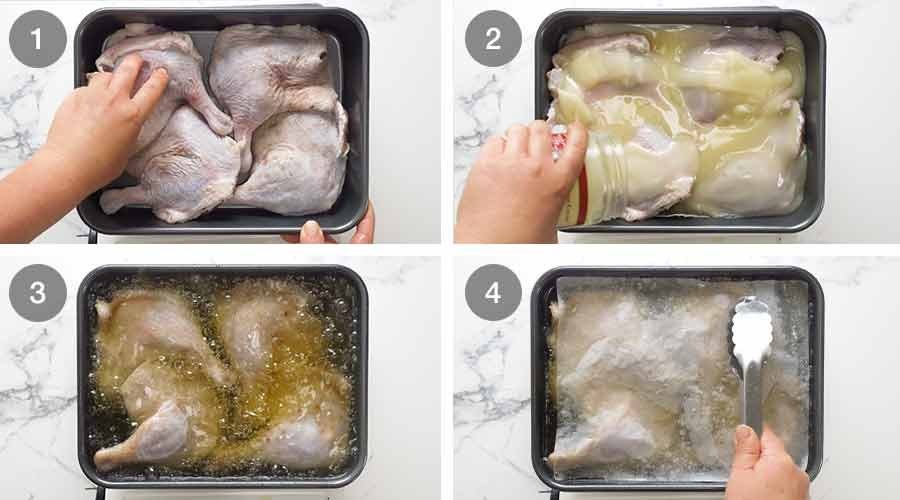 Steps 2–3 · OverviewPreparing the fat-covered roasting pan
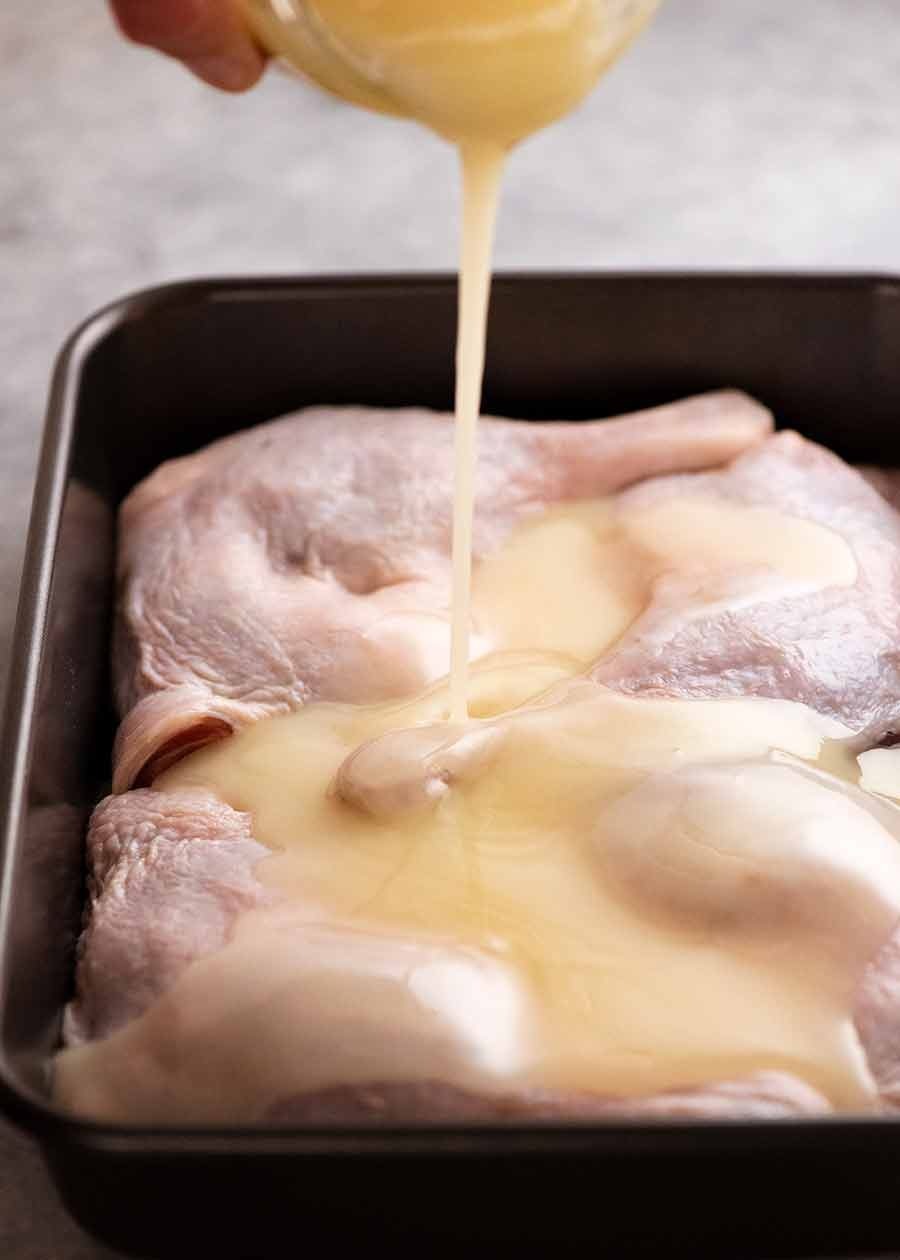 Step 2Covering the legs with duck fat
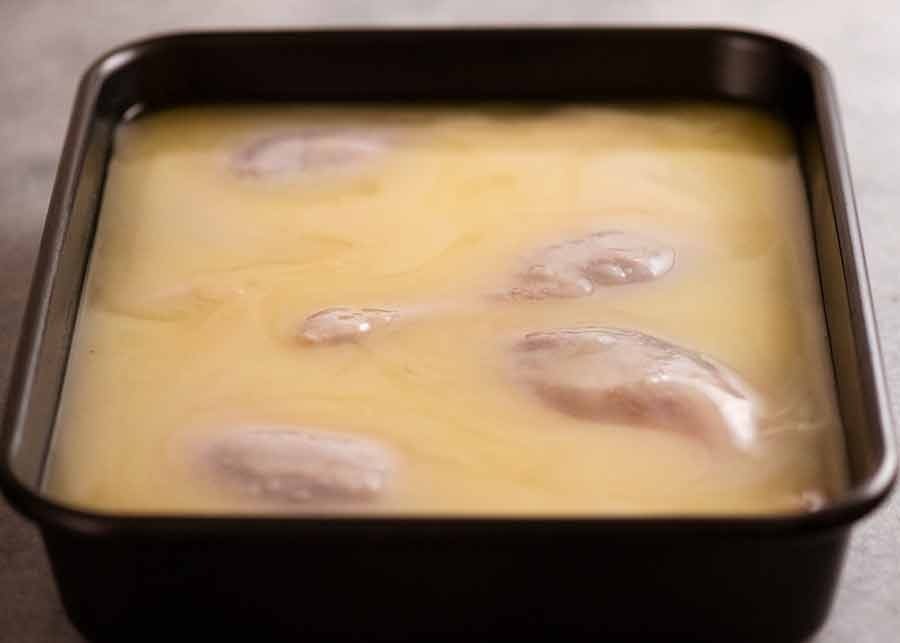 Step 2Legs submerged for slow cooking
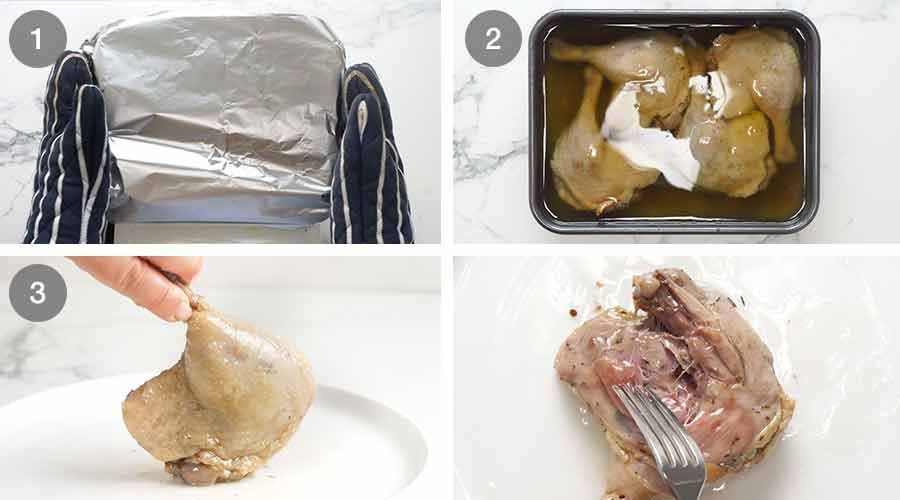 Step 3 · OverviewSlow-roasted duck and tenderness checks
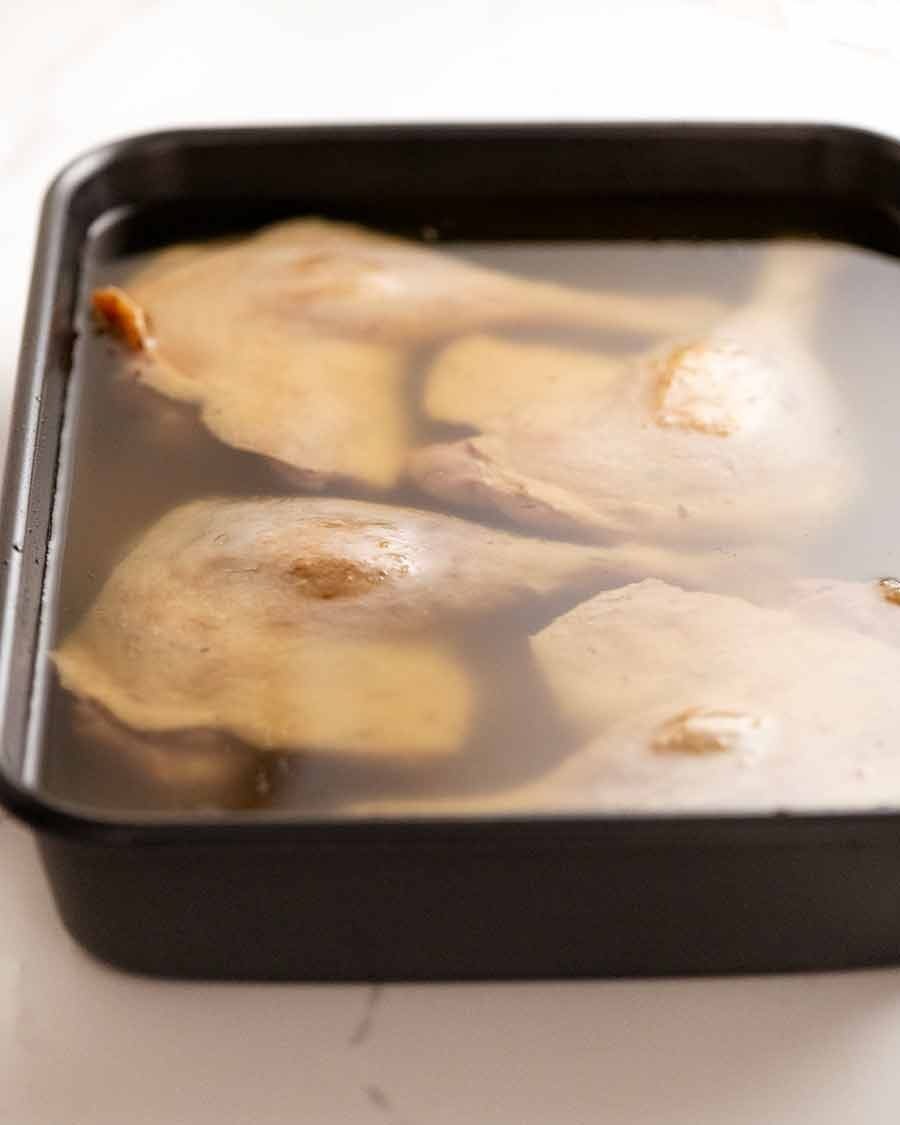 Step 3Duck after the slow roast
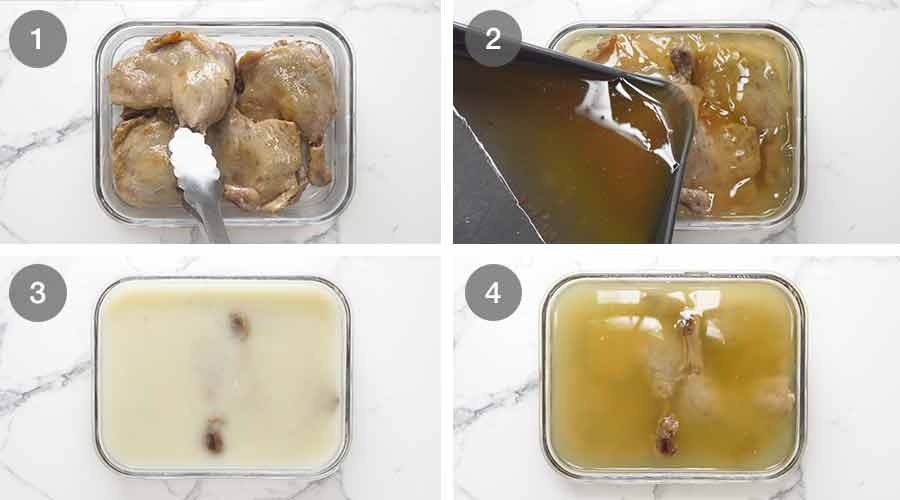 Step 3 · OverviewOptional storage under fat after slow cooking
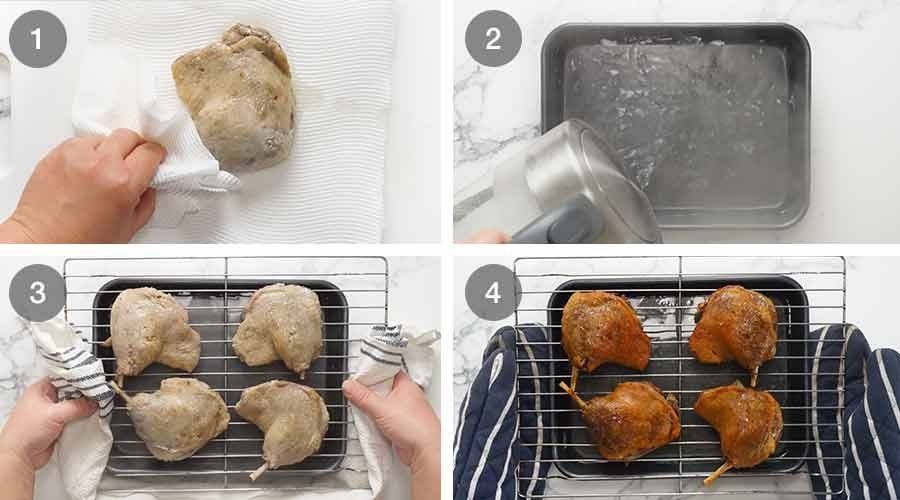 Steps 4–5 · OverviewDraining and crisping the skin
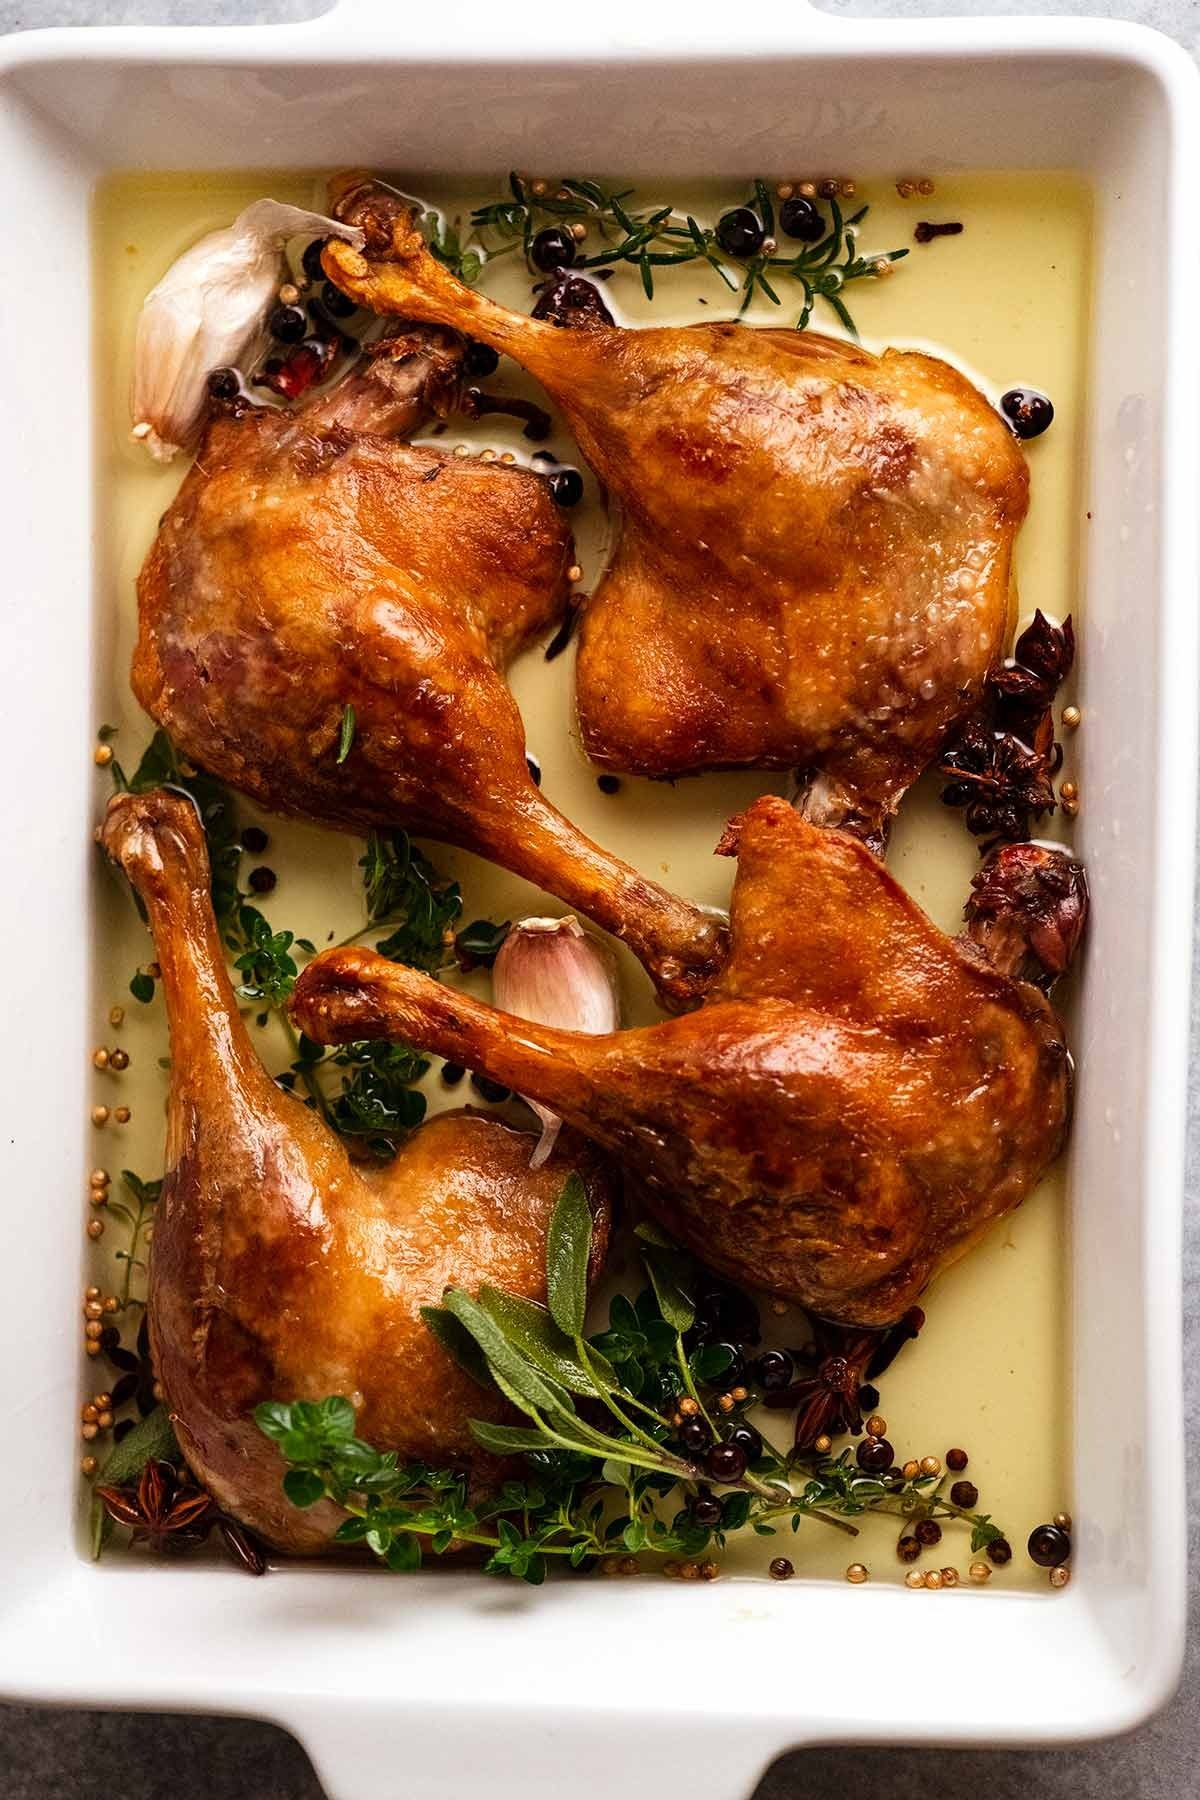 Finished dishCrisped duck legs
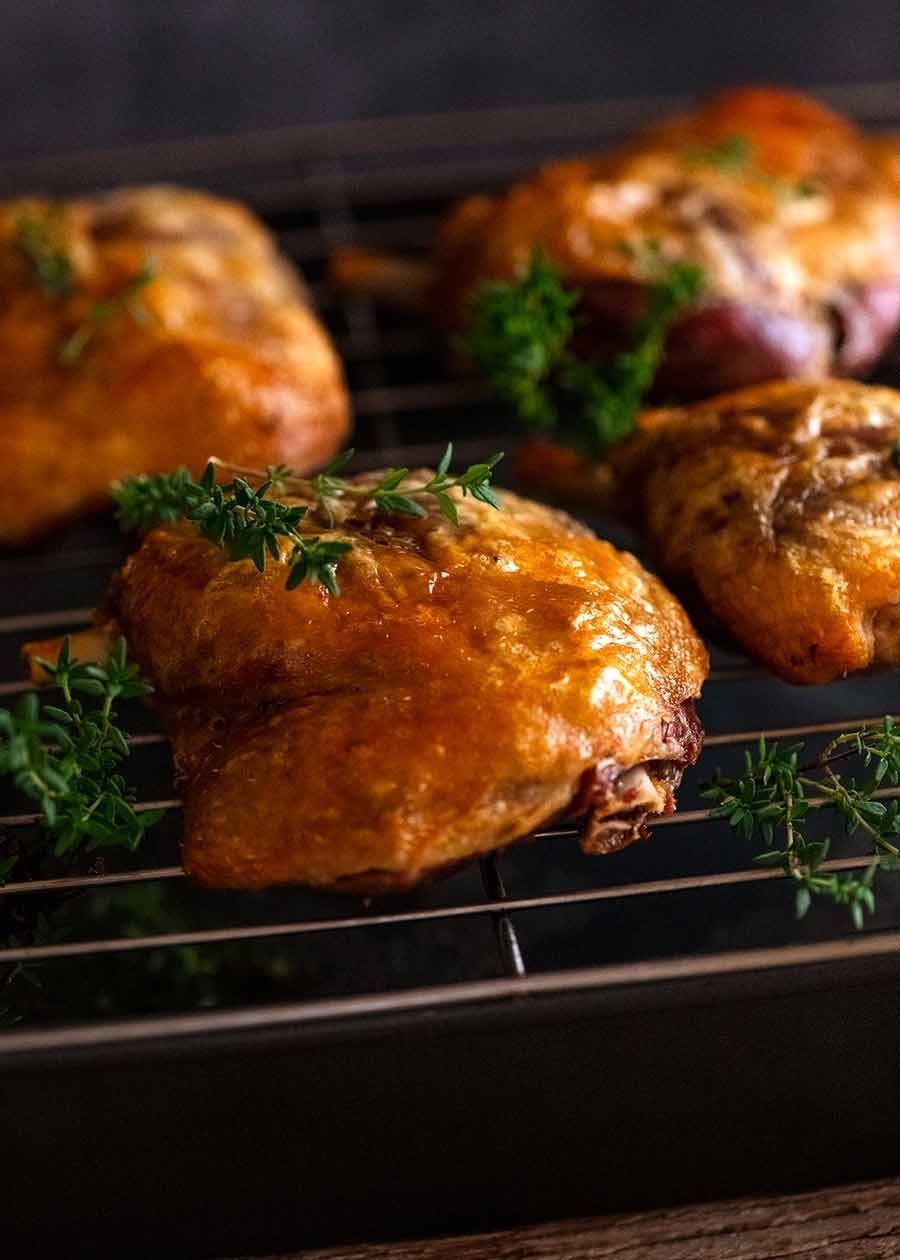 Finished dishGolden crisp skin
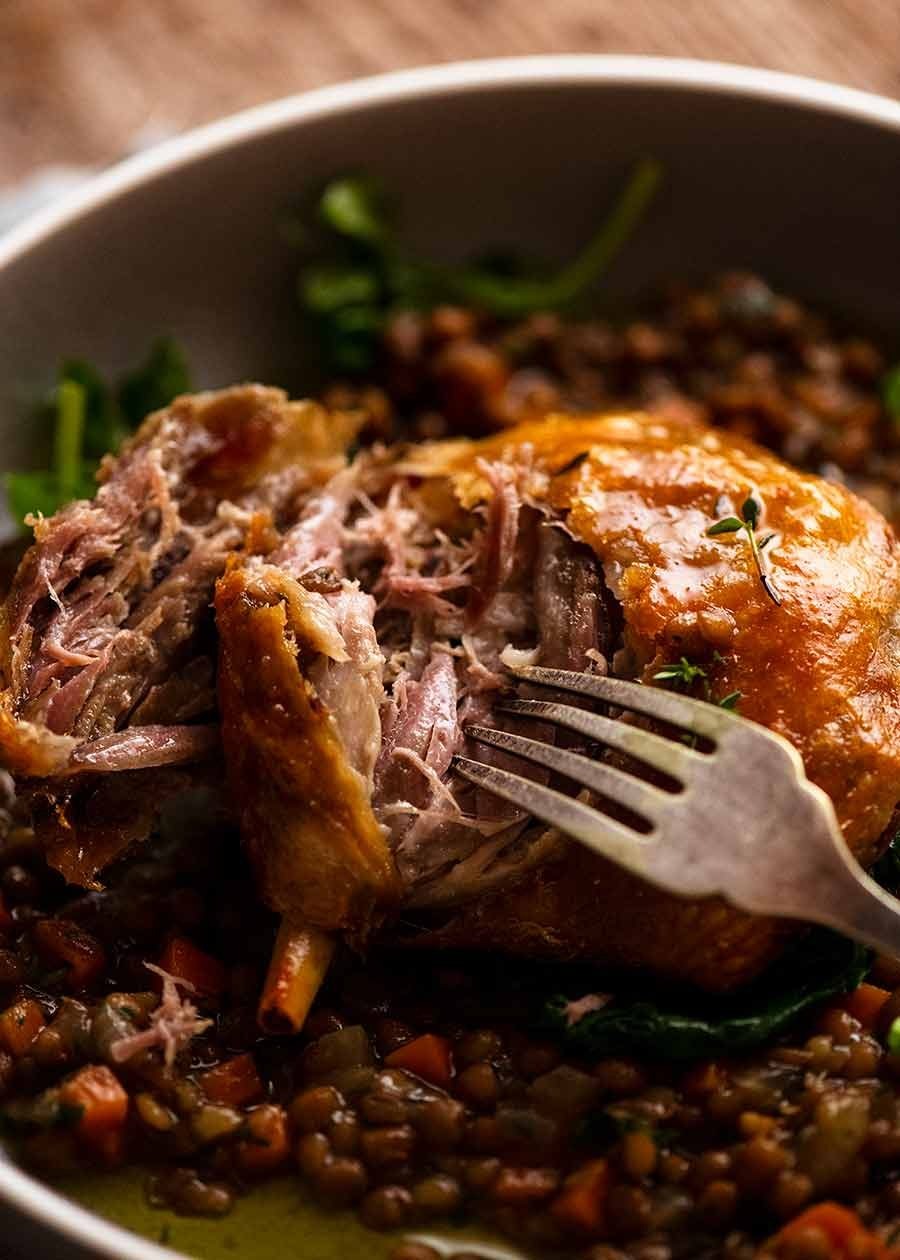 Finished dishTender duck flesh
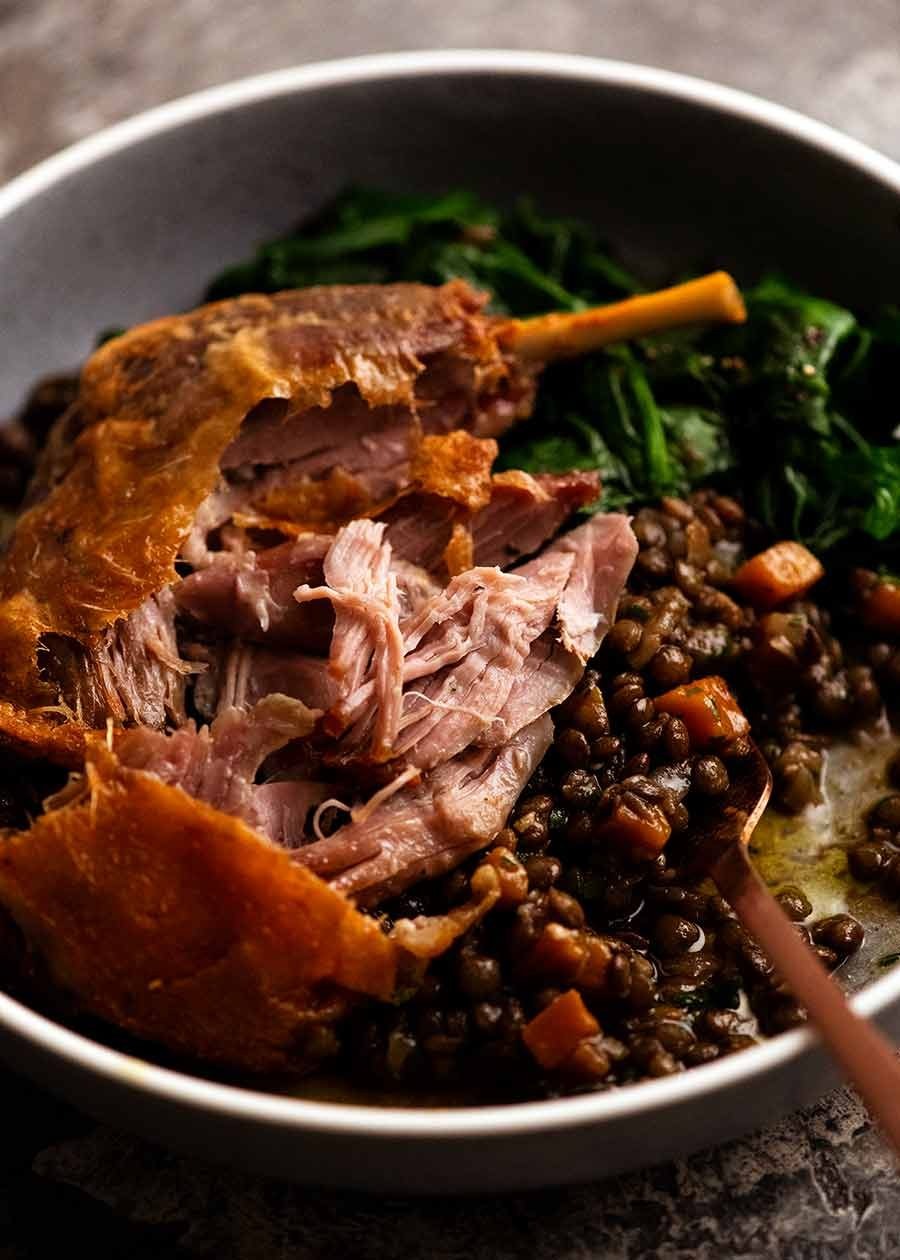 ServingDuck and lentil accompaniment
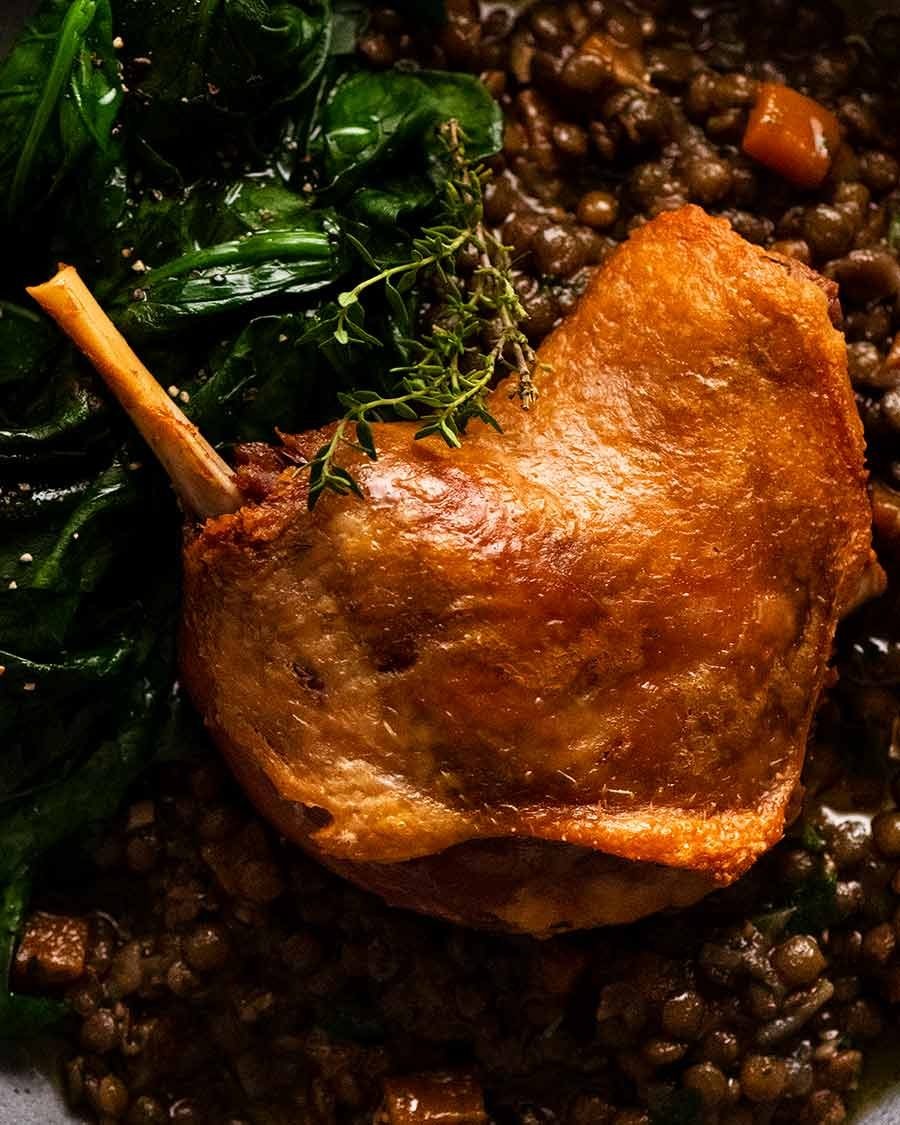 ServingDuck on French lentils
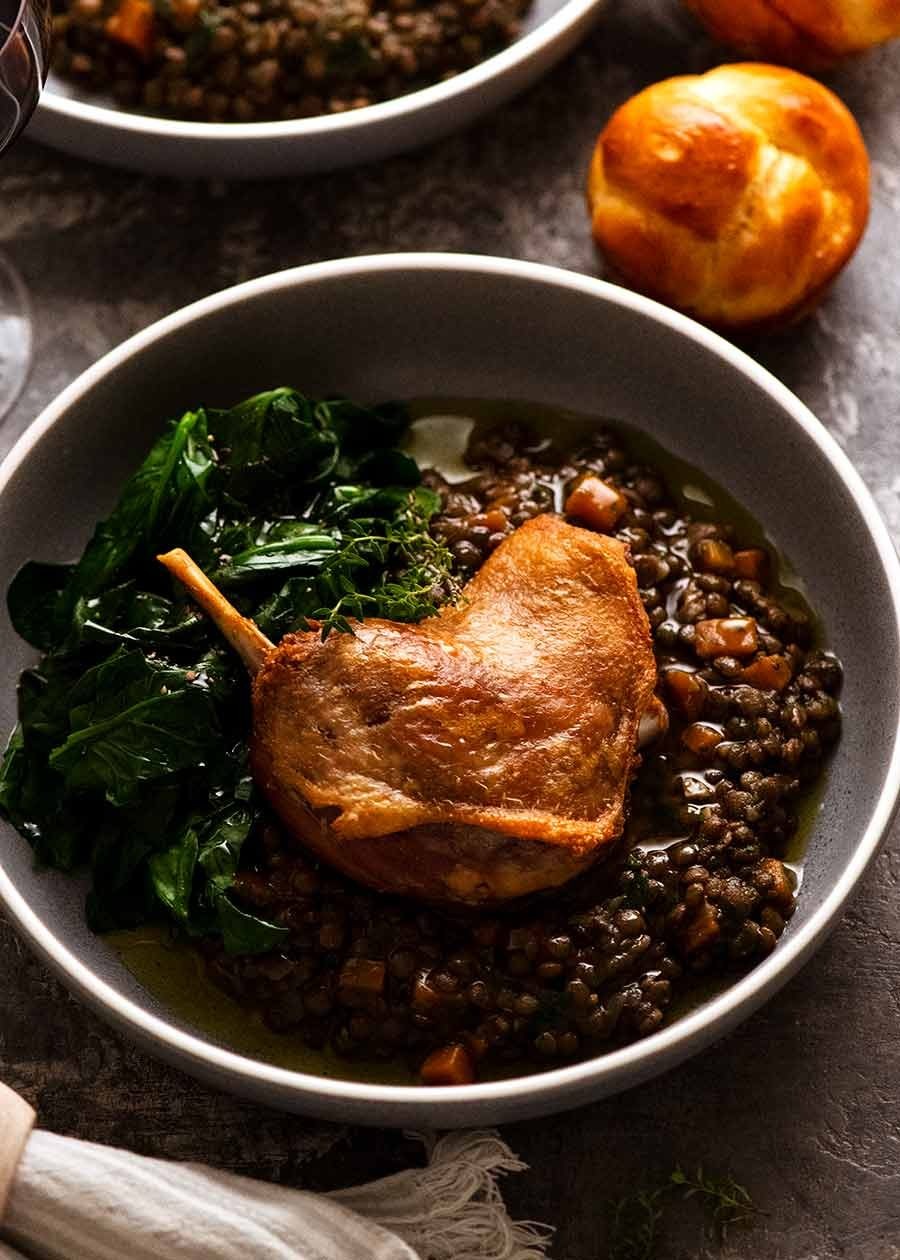 ServingConfit with lentil ragout
 ServingDuck dinner with lentils and rolls
About this dish
Duck confit is part of the cooking of south-western France, where salting meat and keeping it beneath fat once preserved food for leaner times. Its place at the table outlasted that necessity. In the Périgord, the fat that surrounds the duck also flavours pommes de terre sarladaises, making use of both the meat and its cooking medium.
For Nagi Maehashi and French chef Jean-Baptiste Alexandre, a snug pan makes this traditional treatment practical at home. It needs enough fat to cover the flesh, rather than a large vessel filled with litres of it. The overnight cure gives the duck its complex herbal fragrance; the long, gentle cooking softens the meat without browning the skin.
That colour comes at the end. Hot air reaches the legs evenly on a rack, while boiling water below keeps the underside moist and catches the dripping fat. Nagi favours this over pan-frying because it crisps more of the skin. The two cooking stages give each part of the duck the treatment it needs.
Recipe and cooking notes adapted from RecipeTin Eats.